How to Create an ERC20 Token in 5 Simple Steps (2025 Guide)

Creating your own ERC20 token is easier than you think! This step-by-step guide will walk you through the entire process, from understanding the basics to deploying your token on the Ethereum blockchain. Whether you're a developer, entrepreneur, or crypto enthusiast, you'll find everything you need to launch your token successfully.
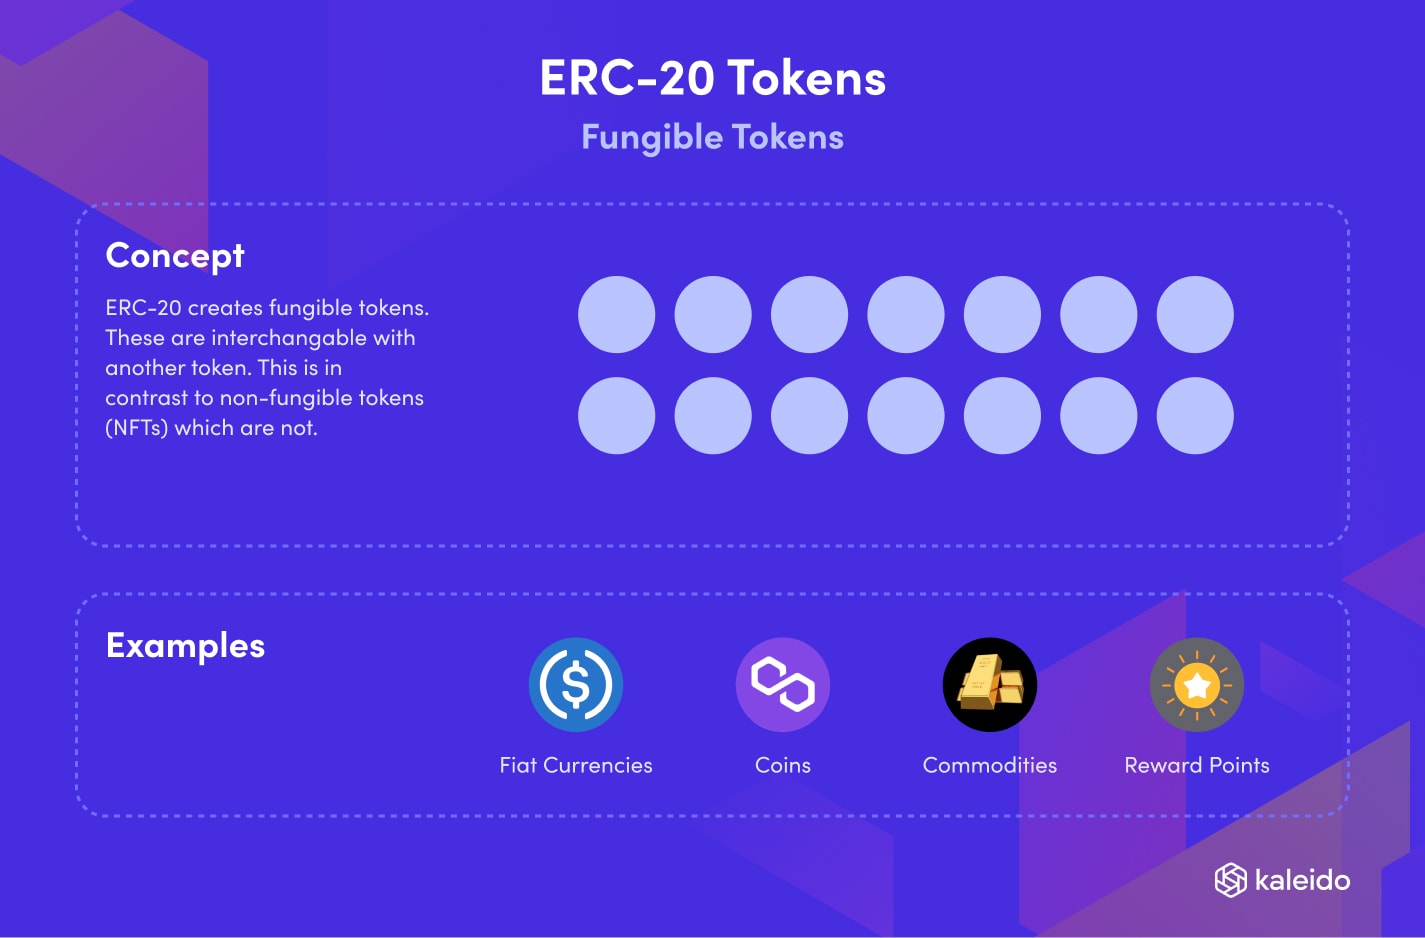
What Is an ERC20 Token?
ERC20 stands for Ethereum Request for Comment 20, a technical standard used for smart contracts on the Ethereum blockchain. It defines a set of rules that all Ethereum-based tokens must follow, ensuring compatibility across wallets, exchanges, and dApps.
Before the ERC20 standard, each token had unique code, making integration difficult. Now, tokens follow a uniform structure, simplifying interactions within the Ethereum ecosystem.
Key features of ERC20 tokens include:
- Standardized functions like
transfer()andbalanceOf() - Interoperability with Ethereum wallets and exchanges
- Gas fees paid in ETH for transactions
- Smart contract capabilities
Why Create an ERC20 Token?
ERC20 tokens have numerous applications across industries:
| Use Case | Description |
|---|---|
| Asset Tokenization | Represent physical assets like real estate or art as digital tokens |
| Fundraising | Launch ICOs or STOs to raise capital |
| Loyalty Programs | Create reward systems for customers |
| dApp Development | Power decentralized applications and platforms |
| Payment Systems | Enable fast, low-cost transactions |
How to Create an ERC20 Token on Kaleido
Step 1: Set Up Your Kaleido Account
Begin by creating a free account on the Kaleido platform. The starter tier includes everything you need to create your first token.
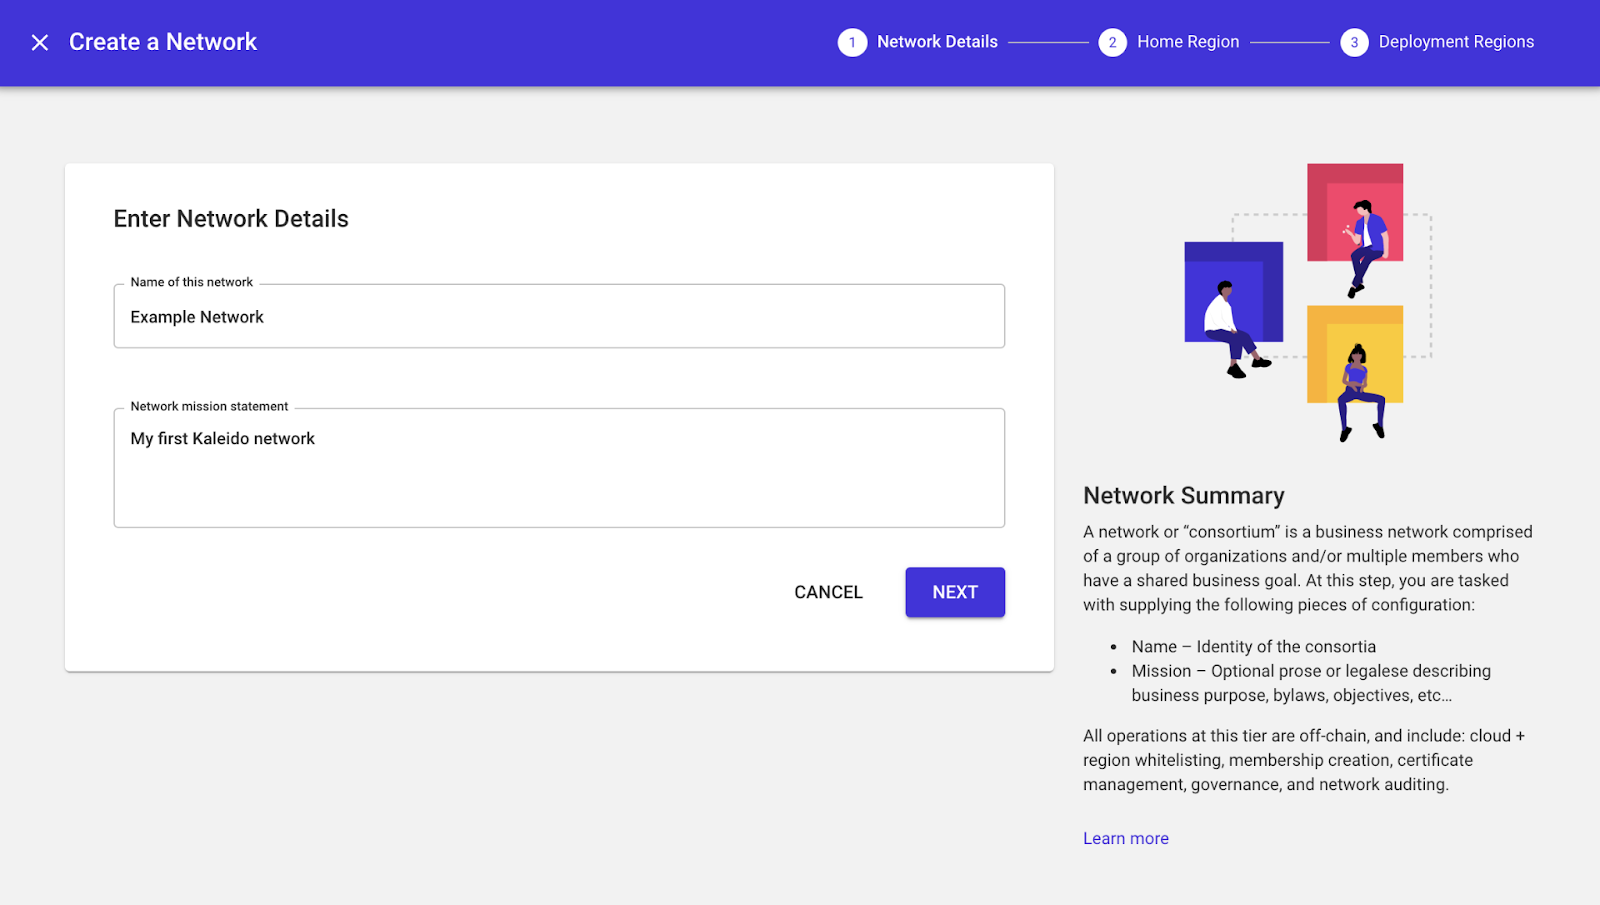
Step 2: Create a Blockchain Network
After logging in, create a new blockchain network:
- Name your network
- Select deployment regions (AWS or Azure)
- Choose Ethereum as your protocol
- Set up a node with default configurations
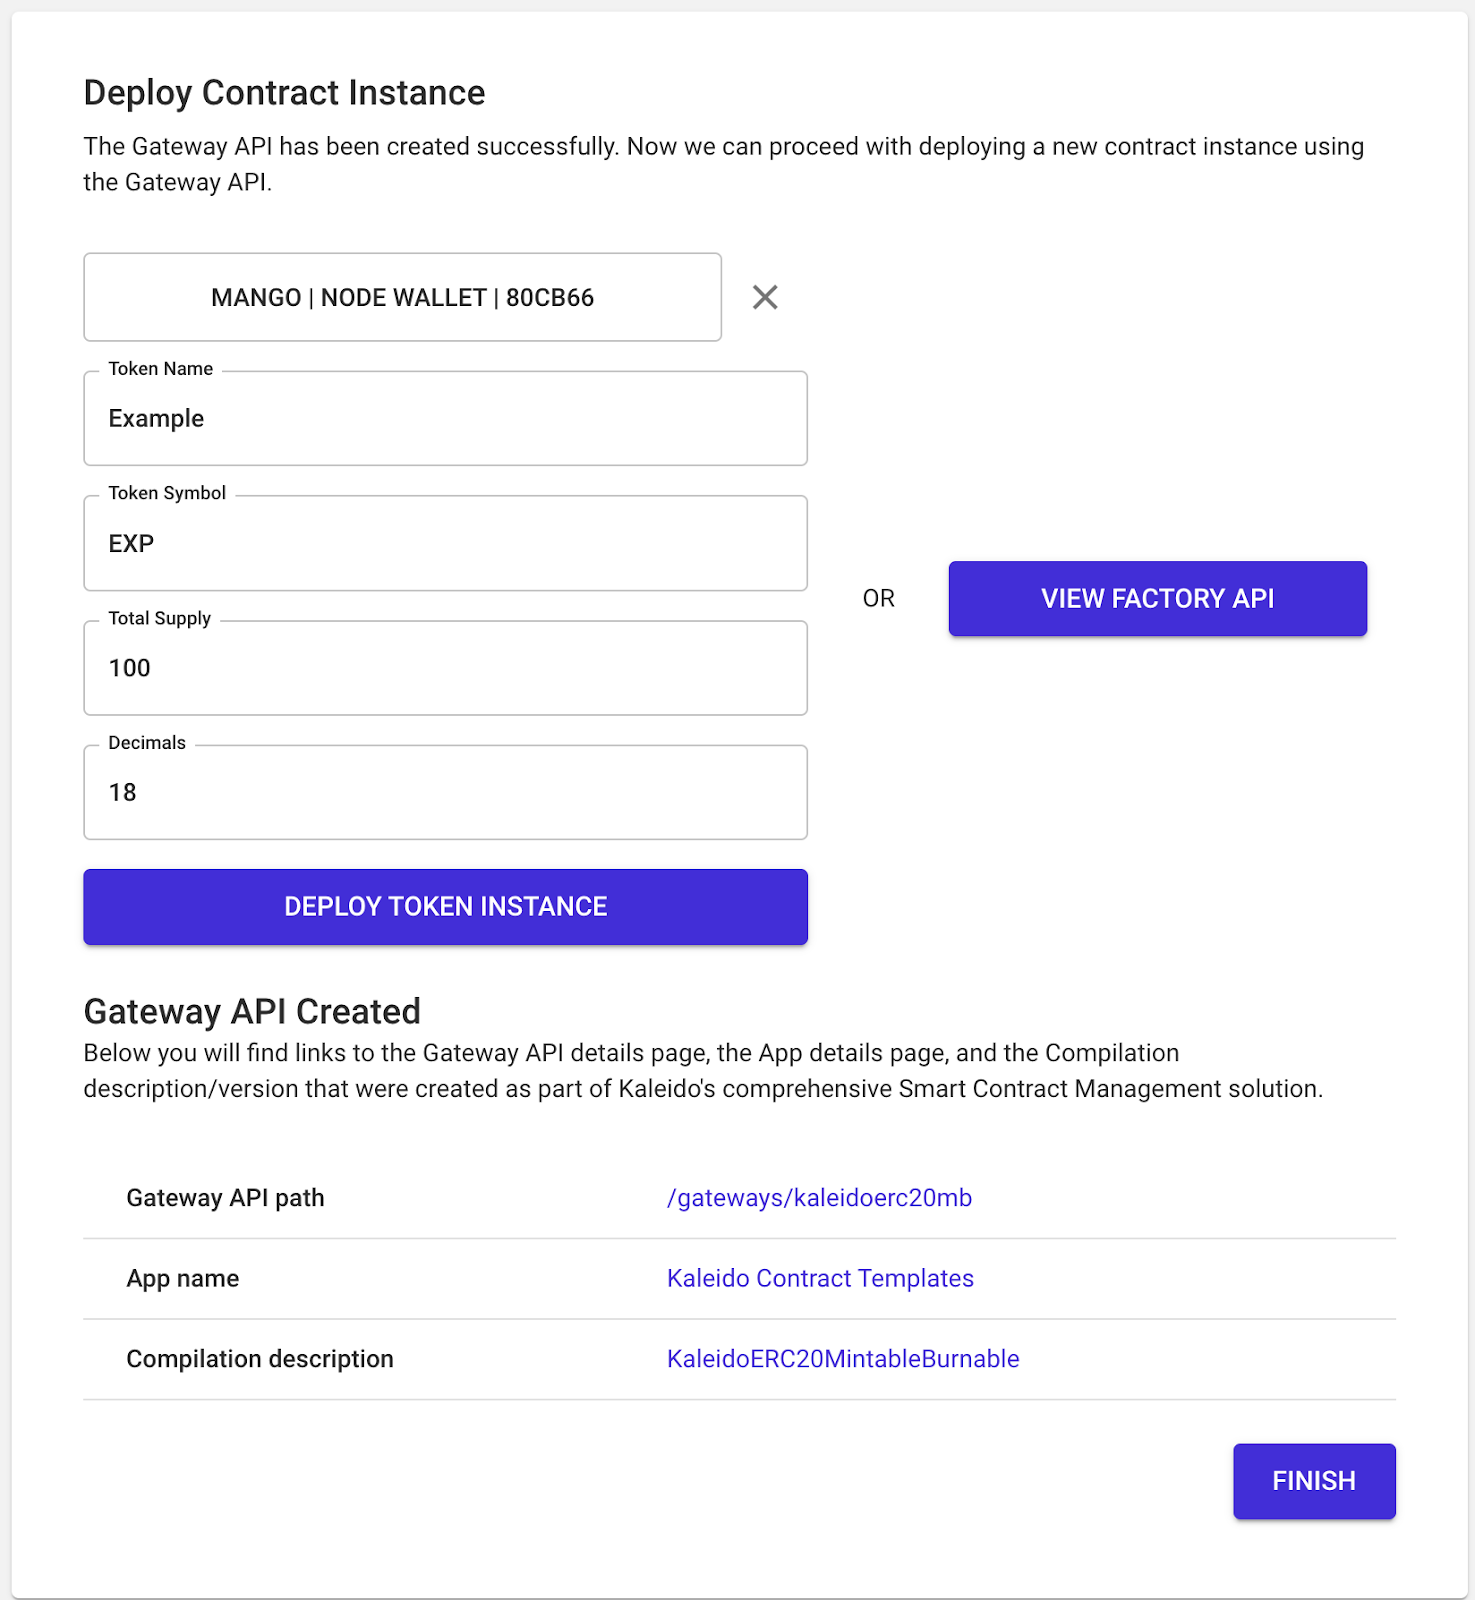
Step 3: Deploy Your Token Contract
Once your node is running:
- Navigate to Digital Assets > Tokens
- Select your node as the signing account
- Choose the KaleidoERC20MintableBurnable template
- Enter token details (name, symbol, supply)
- Click "Deploy Token Instance"
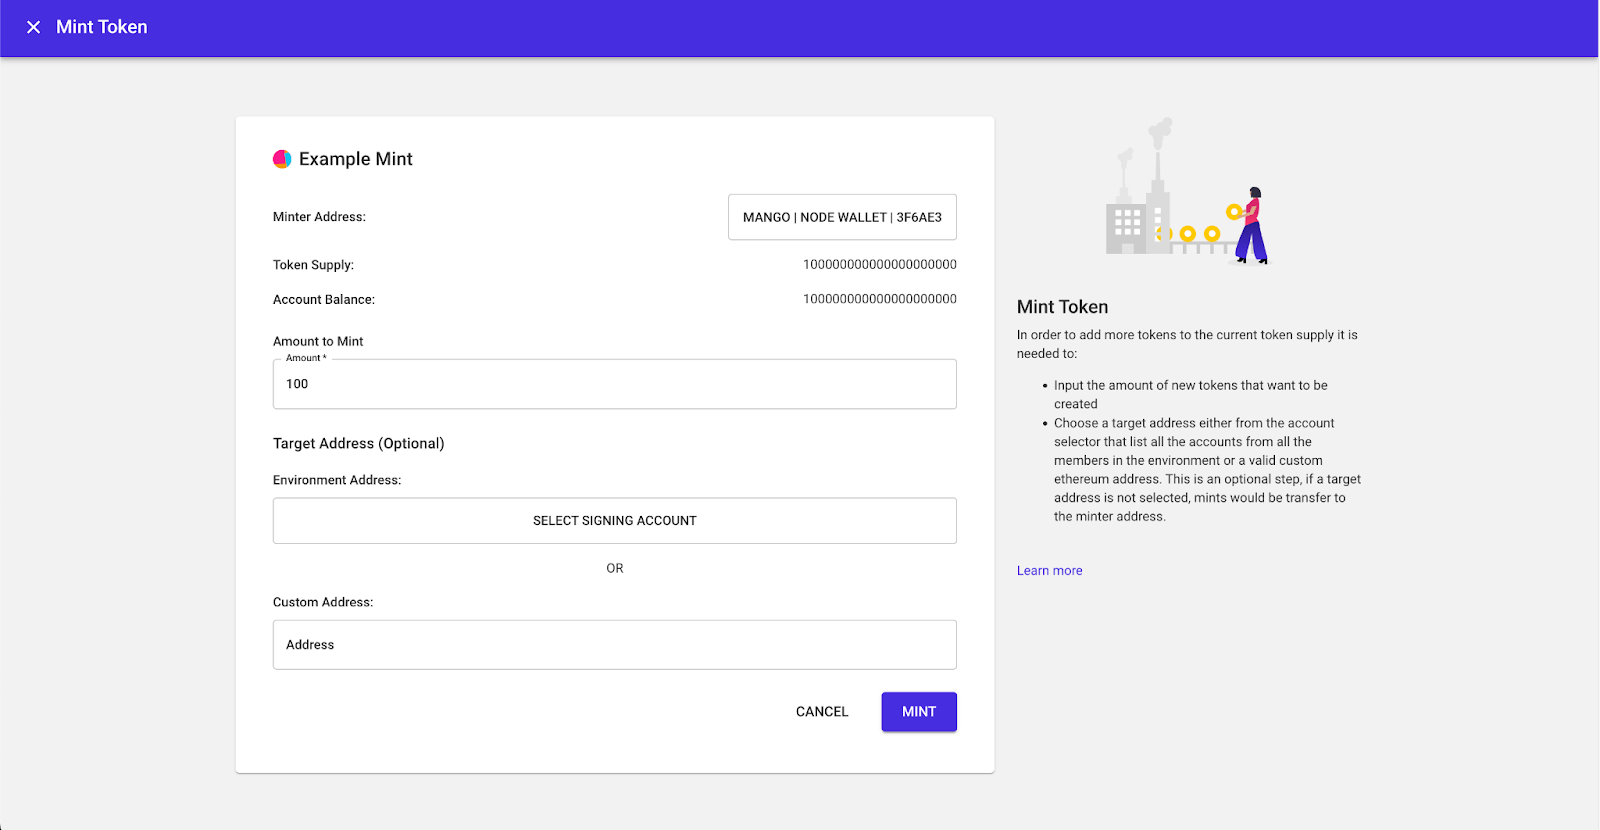
Step 4: Mint and Manage Tokens
With your token deployed:
- Select your token from the Tokens section
- Choose the signing account
- Click "Mint" and enter the desired amount
- View transactions in the Data Explorer
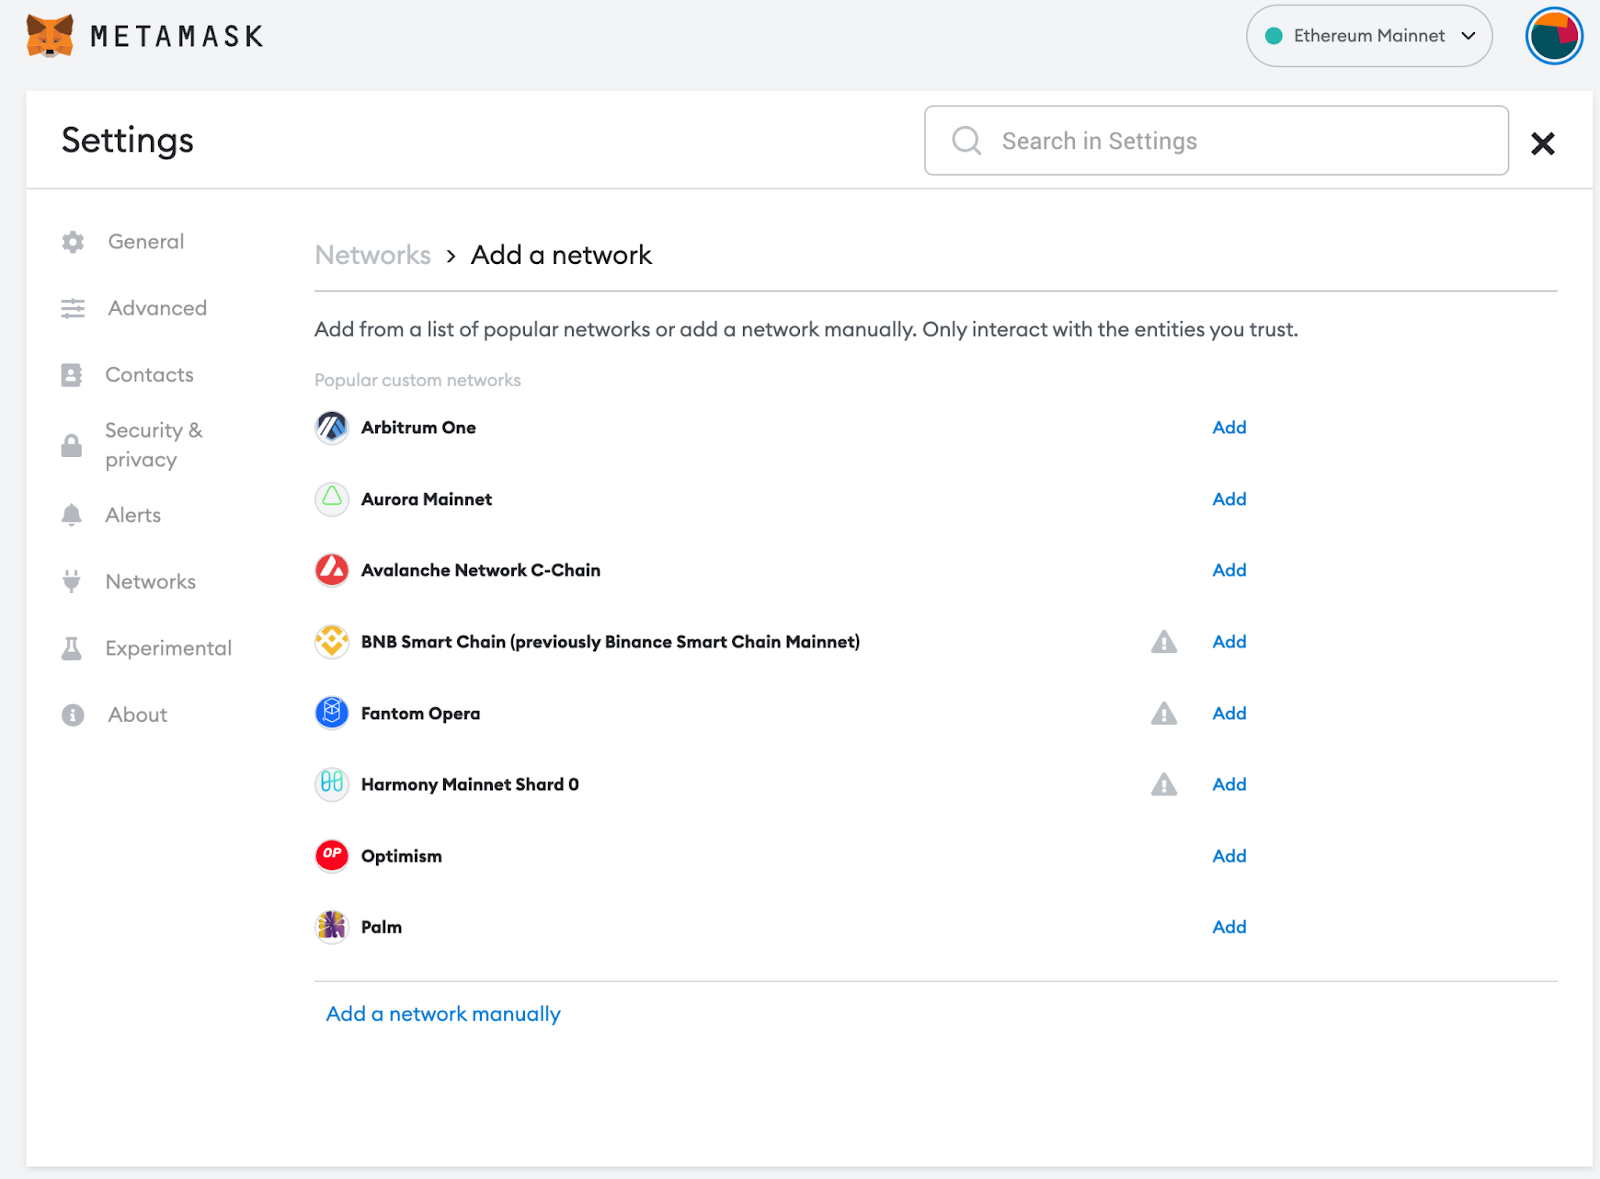
Step 5: Transfer Tokens to MetaMask
To send tokens to a wallet:
- Add your Kaleido network to MetaMask
- Import your token using its contract address
- Transfer tokens from Kaleido to your wallet
Frequently Asked Questions
What is the difference between ERC20 and other token standards?
ERC20 is specifically designed for fungible tokens on Ethereum, while other standards like ERC721 (for NFTs) and ERC1155 (for multi-token contracts) serve different purposes.
Do I need coding skills to create an ERC20 token?
While platforms like Kaleido simplify the process, understanding smart contract basics is beneficial for customization and troubleshooting.
How much does it cost to create an ERC20 token?
Costs vary based on network fees and platform usage. Kaleido's free tier allows token creation without upfront costs.
Can I create an ERC20 token on testnet first?
Yes, you can deploy your token on Ethereum testnets like Goerli or Sepolia before launching on mainnet.
What are the security considerations for ERC20 tokens?
Always audit your smart contracts, implement proper access controls, and consider using established templates rather than writing contracts from scratch.
